Note: to install your Plume Pods you need to use a mobile device.
On your cell phone go to the Google Play store for Android or Apple’s App Store if you have an iPhone and search for the Plume Home app. Download it to your phone and follow the steps through the installation process
Plume Installation - App Steps
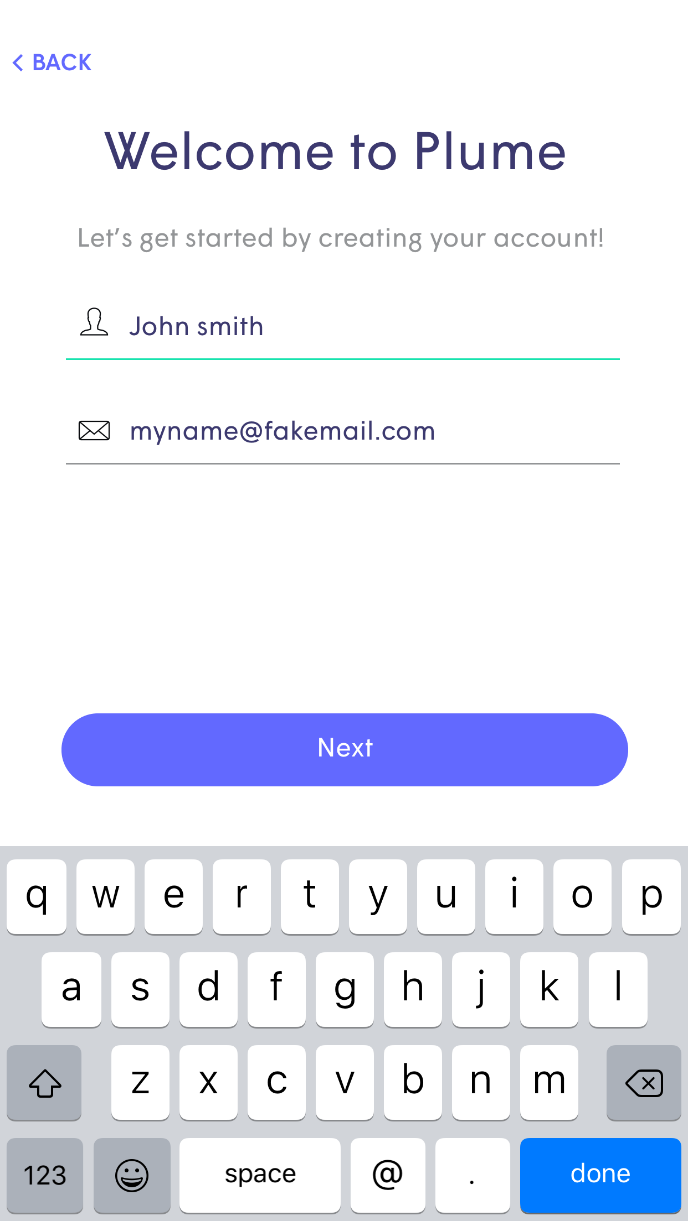
- Launch the Plume app and choose the Set Up Plume option.

- The app will prompt you to enter your name and email. This will be for your new Plume account.
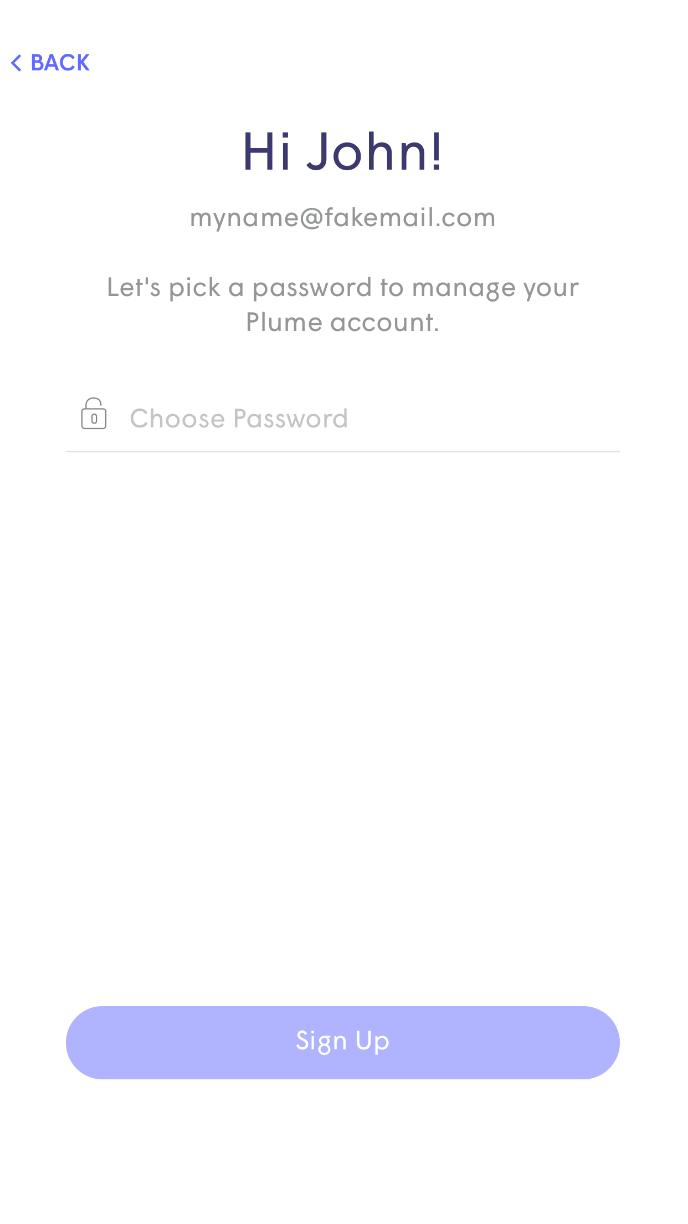
- Choose your Plume account password, which must be at least 8 characters long.
- An email will be sent to you. Click on the Verify Email link within that email to continue the setup process.
- You'll be presented with the overall steps to get your first pod connected. This will become
the Gateway pod of your Plume network. The info buttons will bring up additional details for
each step.
- Connect a pod by Ethernet to your Fiber POE device or if you are not on fiber your cable modem. For or other types of network configuration, use the Advanced setup link to get more information on how to connect the pod to the network.
- Plug the pod into power. Then connect the ethernet cord to your Fiber POE device.
- This step may take up to several minutes if the pod requires a firmware update. The update will be applied automatically and the pod will reboot. Please be patient while this takes place.
- Once you have completed the steps to connect you Gateway pod, tap on Next to move on to setting up your SSID.
- The LED will continue to slowly pulse until the pod connects to the Plume cloud. Once
connected, the LED will turn off and the app will prompt you to input your new Wi-Fi name
(SSID) and Password.
- To simplify setup, you can use your previous Network Name (SSID) and password. This will allow all your client devices to easily switch to the Plume network once the old Wi-Fi has been turned off, without needing to update the credentials on every single Wi-Fi client. In some cases older wifi devices may need to be reconfigured.
- Alternatively, this could be an opportunity to setup a completely new Wi-Fi network name and/or password. This would help ensure that the new Wi-Fi network starts off as secure as possible.
- If you have more than one pod, start plugging them in now. If possible plug them in on interior walls. Stay close to each pod until it is found. As each one connects to the network and cloud, a green check mark will appear and the LED will turn off. Tap on Completed once all pods have been added.
- Be sure to Enable notifications. This will help you be aware of your home network activity.
- The Plume app will prompt you to join the new Wi-Fi network with your mobile.
- Tapping on Join will take you out of the Plume app and into the Wi-Fi settings so you can join.
- Once back in the Plume app, a Welcome Aboard message indicates that the device is now connected and the new Wi-Fi network is operational.
- Finally, after you have joined the network, you'll be taken to the home screen.
- As an optional step, pods can be named for easier identification later.
- Tapping Snooze, will skip this step.
- To name the pods, bring the device close to each pod that is to be named. Bluetooth is used to identify the closest pod.
- Choose from the list of default names or enter a custom name for each pod.
- Over the next 24 hours, your new Plume Wi-Fi network will optimize to create the best performance for your connected devices.